3 easy steps to more privacy & uncensored DNS access!
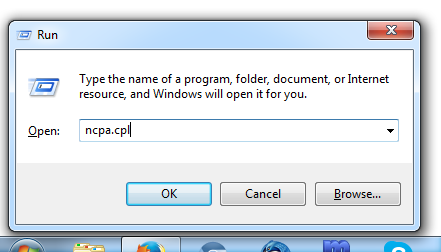
Step 1 - Open network config settings.
Press Windows key + R to bring up the Run window. Type in ncpa.cpl and click OK, or press Enter.
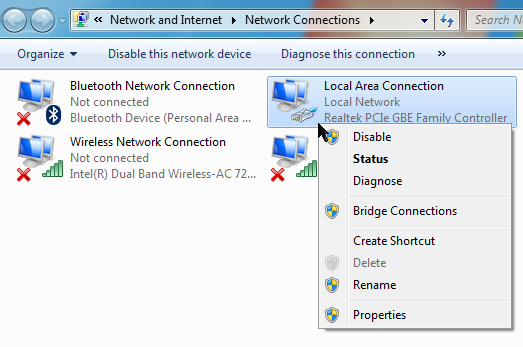
In the Network Connections window, right-click your active network connection and select Properties in the menu.
Step 2a - Change DNS resolver to DNS.WATCH for IPv4
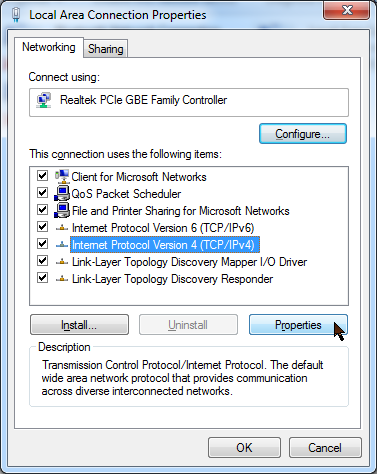
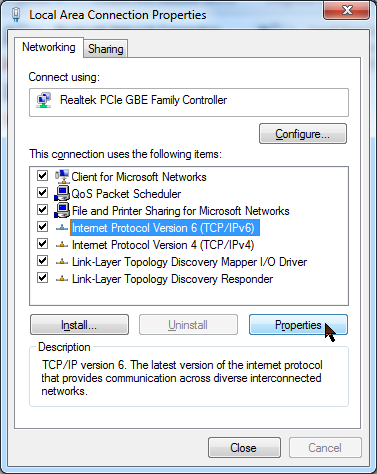
In the Connection Properties window, select IPv4, then click Properties.
In IPv4 Properties, select "Use the following DNS server..." and enter the Preffered and Alternate IPv4 DNS servers.
Copy-paste works if you don't want to type it in.
- Preffered DNS server: 84.200.69.80
- Alternate DNS server: 84.200.70.40
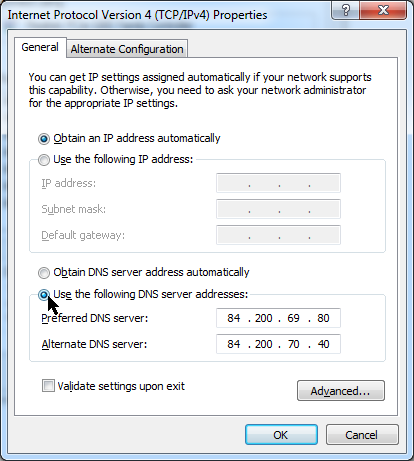
Click OK to confirm.
Step 2b - Change DNS resolver to DNS.WATCH for IPv6
Back in Connection Properties, do the same again but for IPv6.
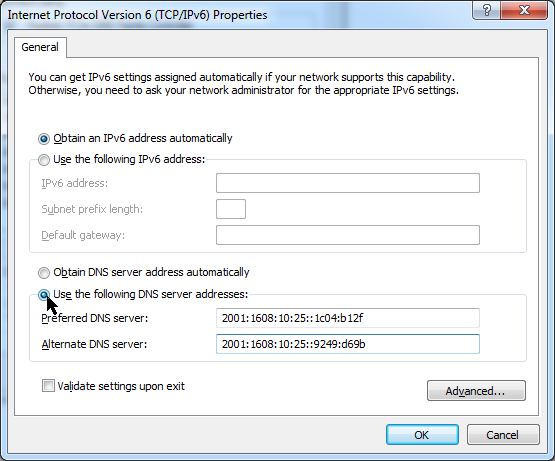
In IPv6 Properties, select "Use the following DNS server..." and enter the Preffered and Alternate IPv4 DNS servers.
Copy-paste works if you don't want to type it in.
- Preffered DNS server: 2001:1608:10:25::1c04:b12f
- Alternate DNS server: 2001:1608:10:25::9249:d69b
Then close the Connection Properties window as well.
Step 3 - Verify the settings
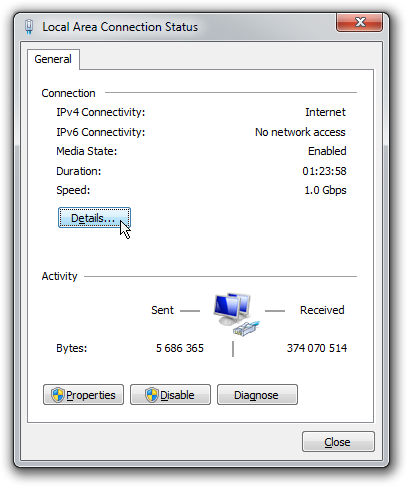
You're back in the Network Connections window. Right click the network connection again, and select Status in the menu.
In the Connection Status window, click Details...
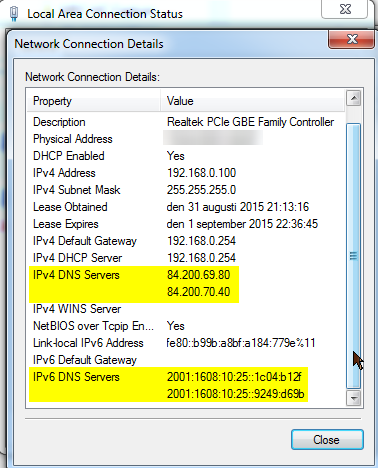
Confirm that the new DNS resolver addresses were applied.
Thanks to Elliot, a DNS.WATCH user who contributed this tutorial!